
ReachUC Settings to Enable/Disable Call Recording Feature
The ReachUC mobile app call recording feature appears as a record button that is available on the current call screen. When the button is pressed it will start recording the audio on the current call and will stop recording when the call ends or the button is again pressed. The full article on this feature can be found at https://www.reachuc.com/knowledge-base/call-recording-feature/
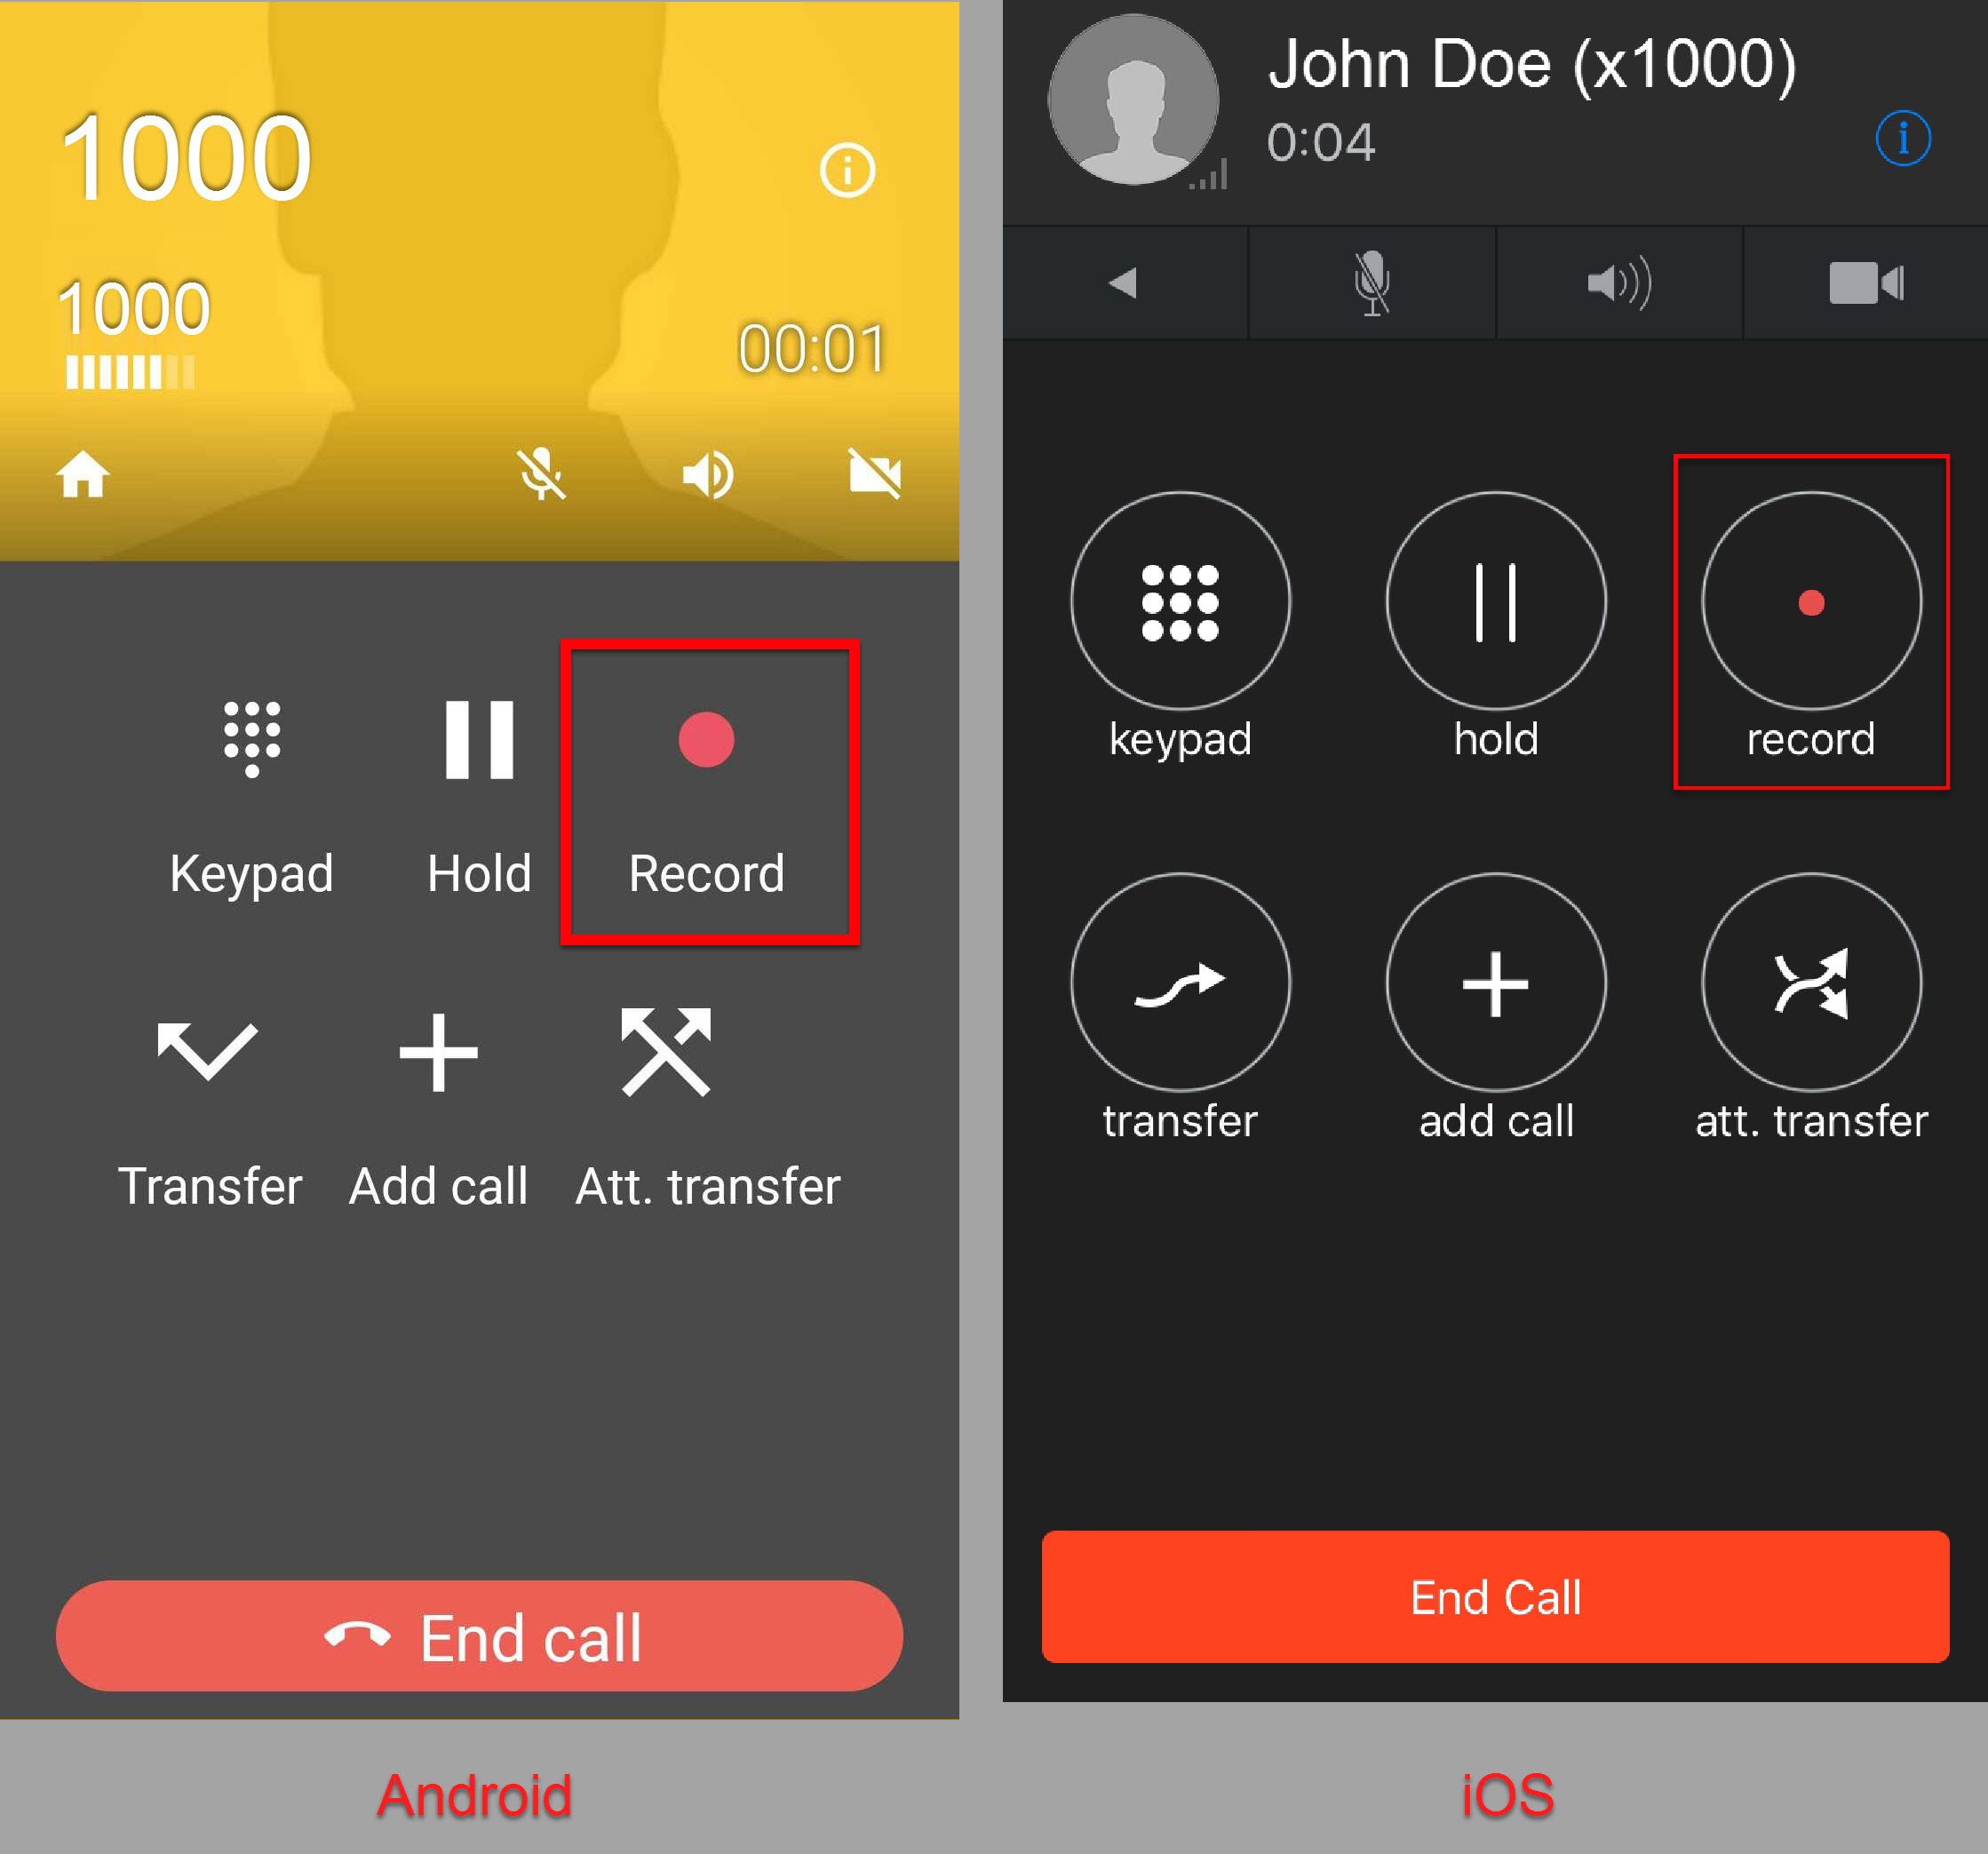
This feature may be enabled or disabled through the ReachUC Settings in your reseller dashmanager. When call recording is disabled, the option to record calls from within the app is not available and the Record button will not be visible on the current call screen.
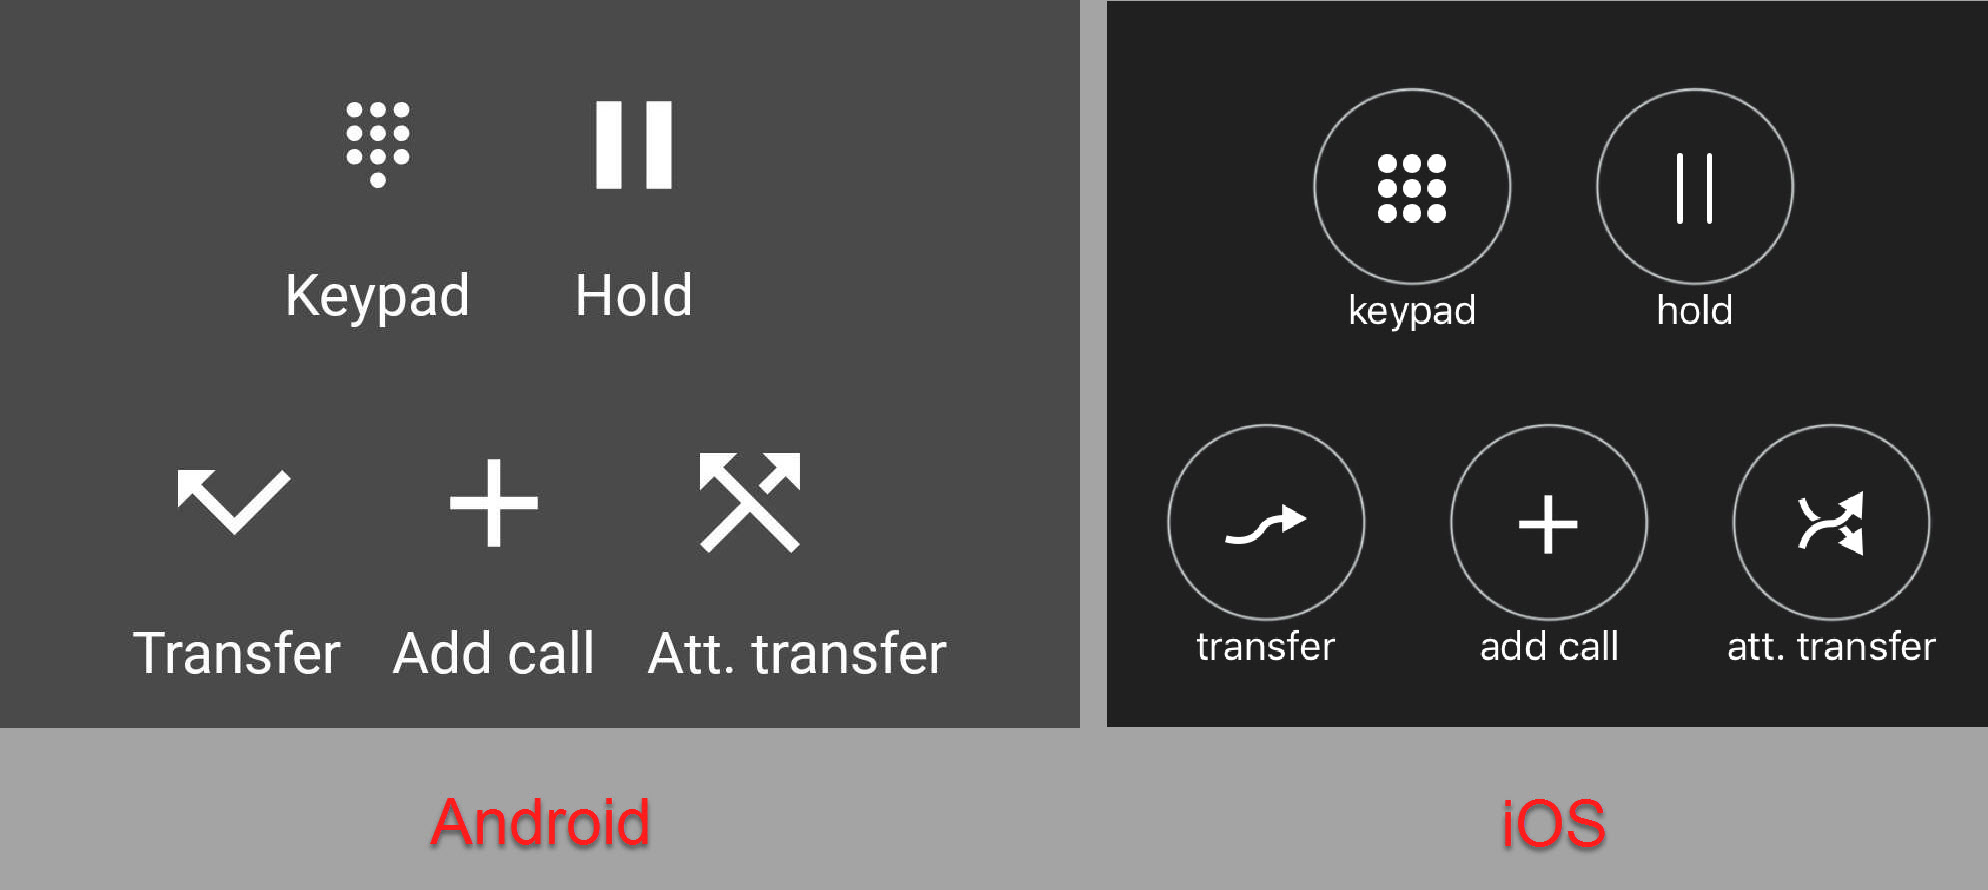
To Disable/Enable this feature follow the steps below:
- Go to your ReachUC Settings under Manage PBX in your dashmanager.
- Load your reseller, domain and then the subscriber whose settings you would like to change. Note: If NO Subscriber is chosen, the setting will apply to the whole domain and if NO Domain is chosen, the setting will apply to all the domains under your reseller account.
- In the table, look for Call Recording.
- Click on the pencil icon to open the Edit Settings Value dialog.
- Click on Define override value and select either a Yes or No value for Override Setting.
- Click on the Update Value button to save the changes.

If you want to revert back to the domain’s default setting simply click on the curved arrow at the end of the Call Recording setting.
Note: If NO Subscriber was chosen then the domain’s override will revert to the reseller’s default setting.
